Mastering Human Figure Drawing: A Step-by-Step Guide

Last Updated on 21 October, 2025 by Armored Pencil
We now added something amazing, we create a gesture drawing tool with a vast set of references, so you can practice gesture drawing to your hearts content! Enjoy!
Updated since 20-10-2025
Armored Pencil
Navigating the art of human figure drawing
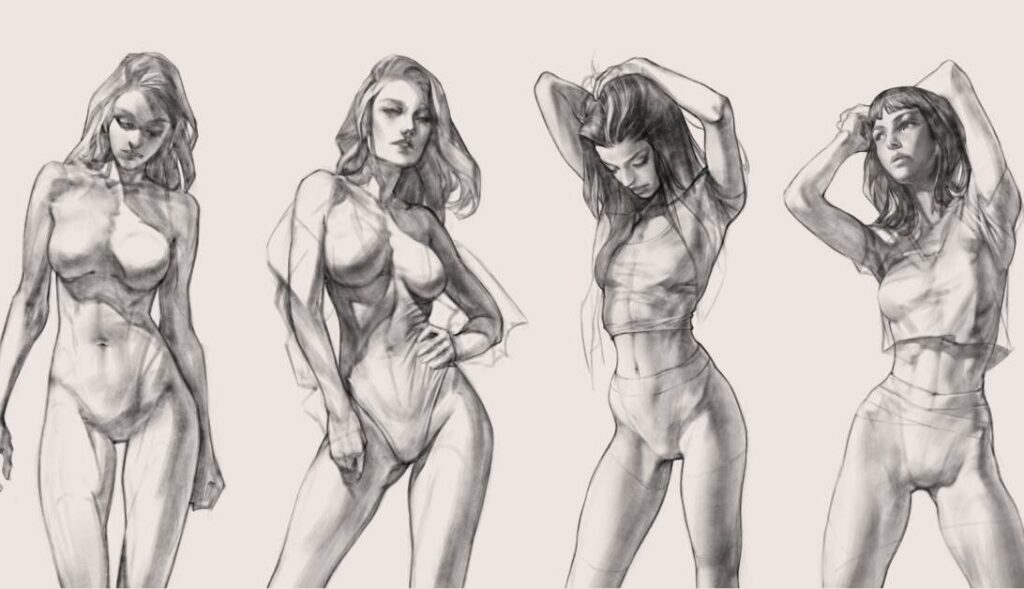
Drawing the human figure is a foundational skill for artists, whether you’re a beginner or an experienced illustrator. The human body is a complex and fascinating subject, filled with intricate forms and subtle nuances that can seem daunting to capture on paper or screen. In this short guide, we will break down the process of drawing the human figure into manageable steps, demystifying the art of figure drawing and providing you with the tools to confidently bring the human form to life in your artwork.
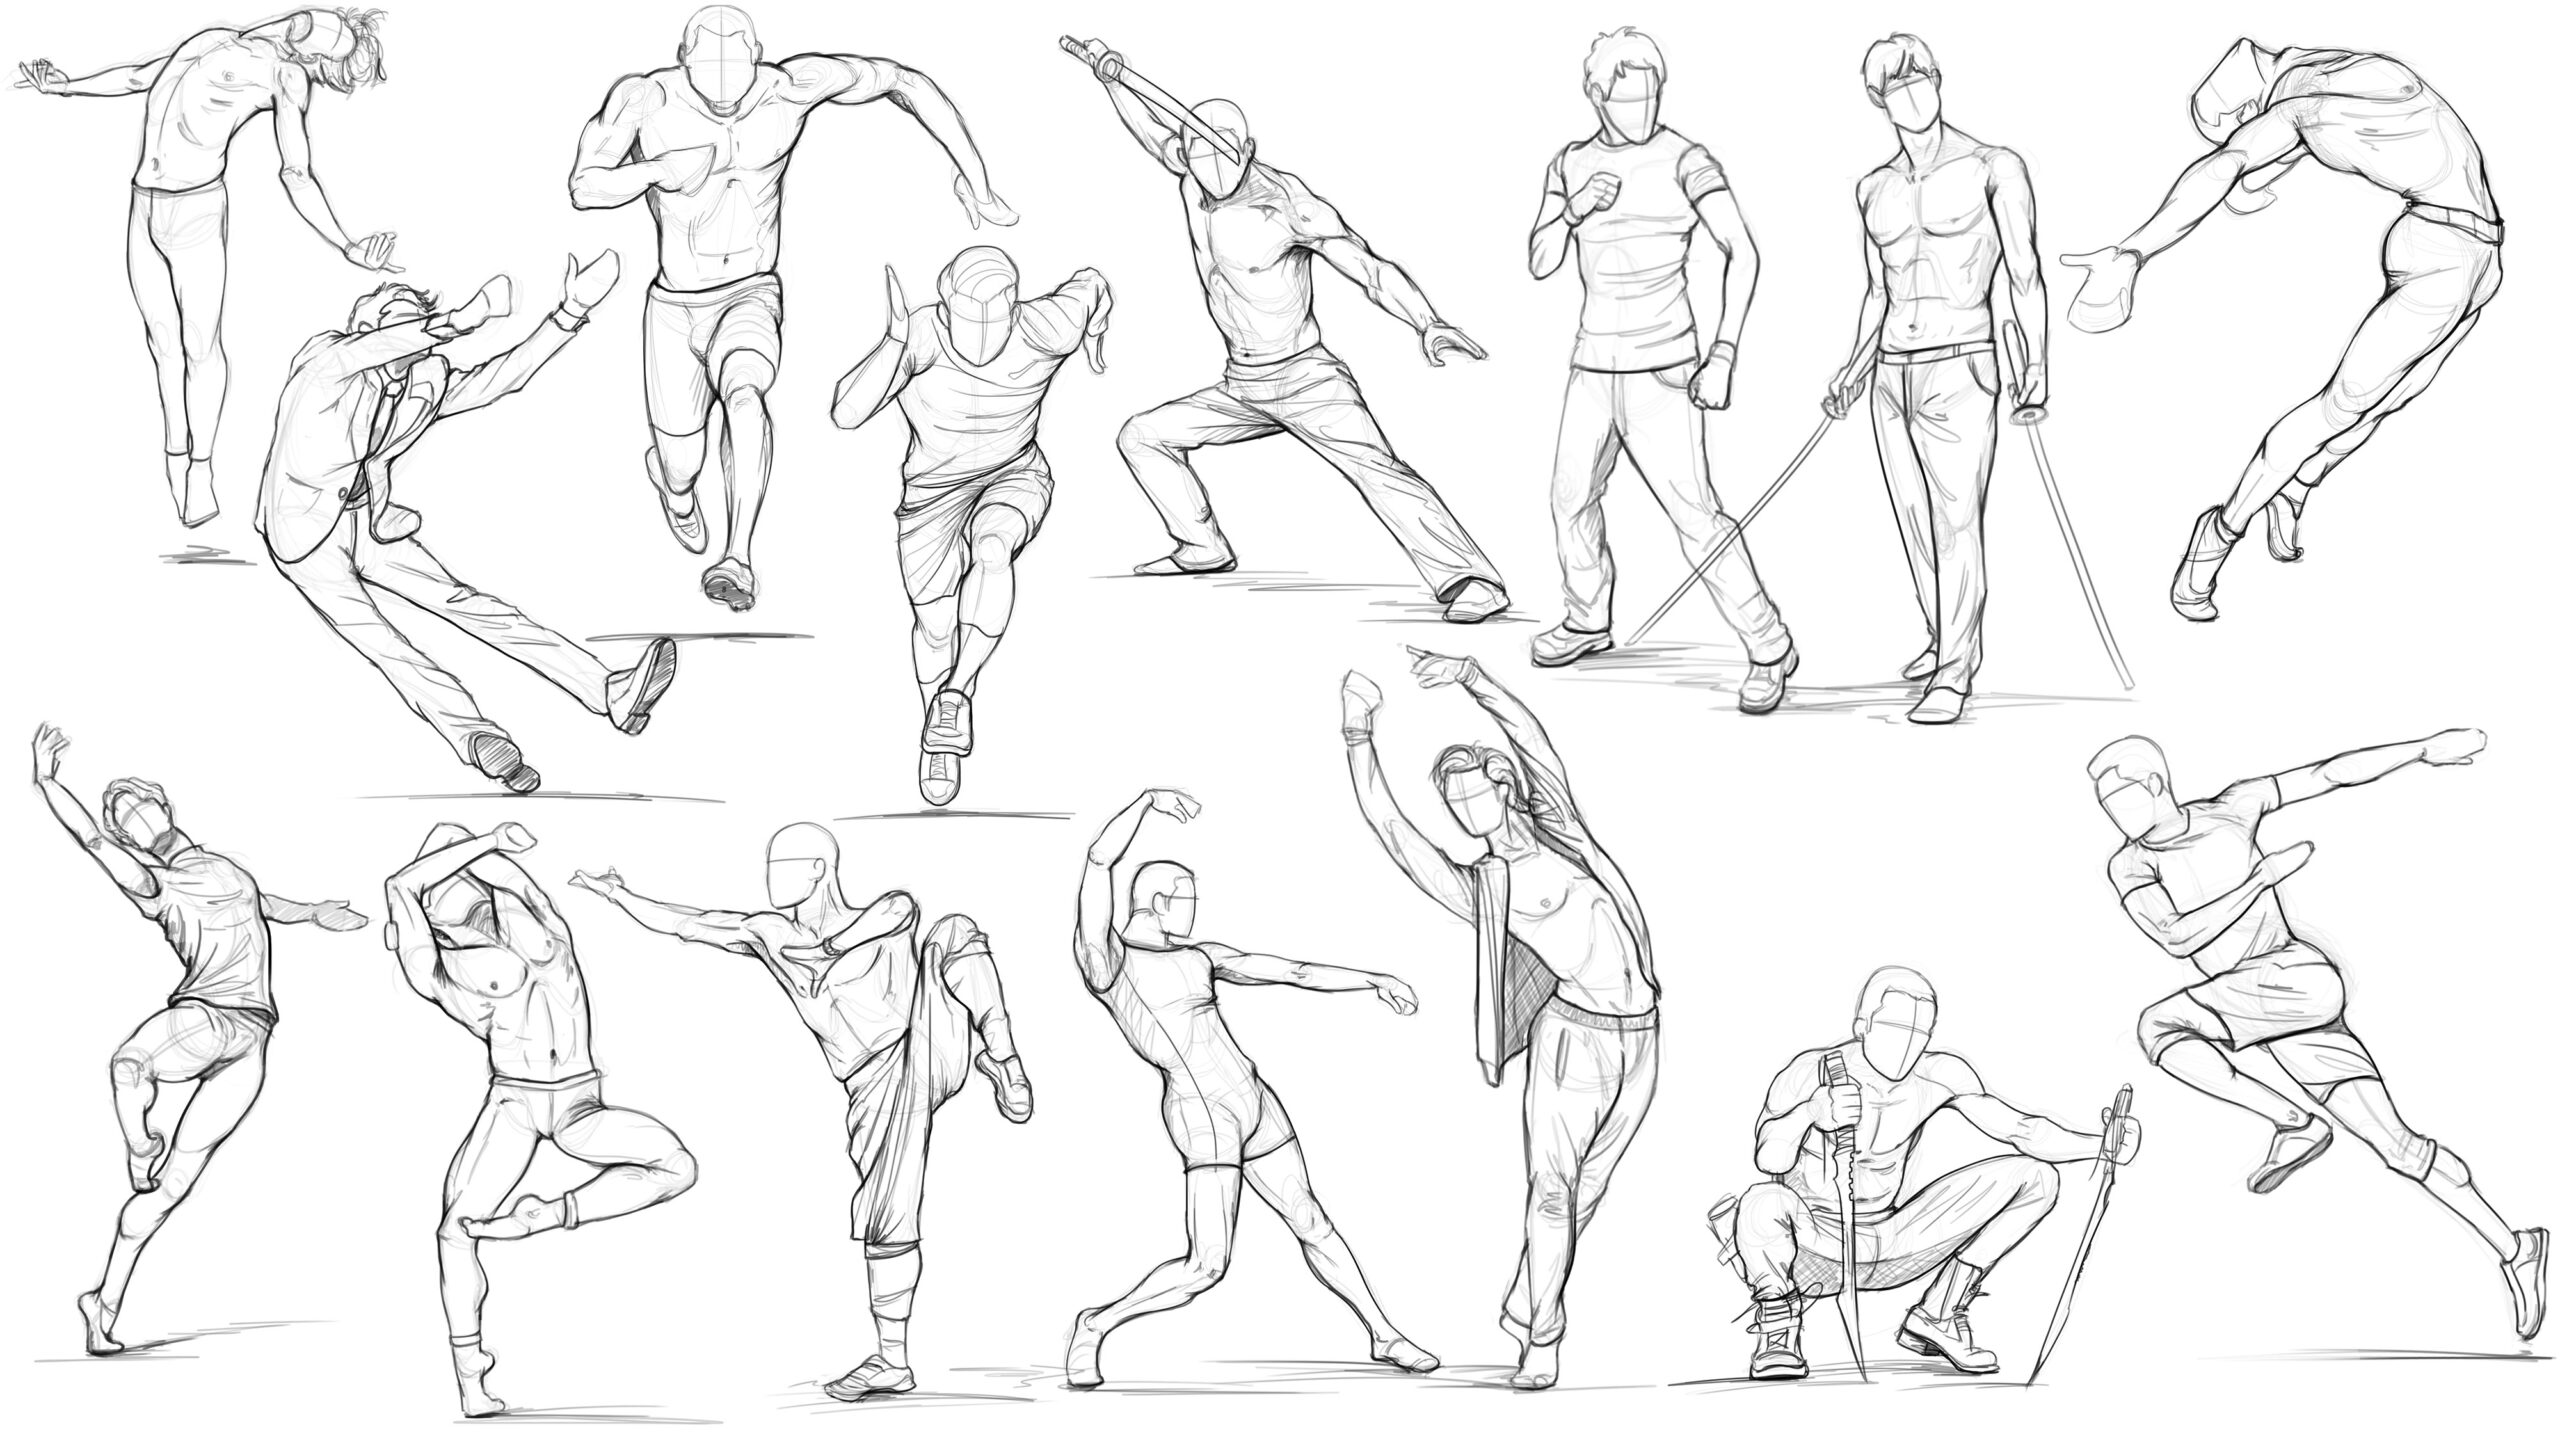
Tools to help you learn to draw multiple poses.
- Gesture drawing: A tool we designed for timed practice, it includes facial expressions as part of its vast reference database. Go to our gesture drawing tool
- JustSketch.Me: A 3D modeling tool that allows you to adjust facial expressions on digital characters, providing a customizable reference for artists.
Gesture drawing

Another cool thing I found is the book “Figure drawing for all it’s worth” by Andrew Loomis: which can be downloaded right here. Although I do recommend actually buying the book as a physical copy allows you to read it, experiment with it on paper and have it next to you when you draw.
Materials and Tools
Before we delve into the drawing process, let’s discuss the materials and tools you’ll need for successful figure drawing:
- Paper: Start with a good-quality sketchbook or drawing paper. You can choose between smooth or textured paper, depending on your preferred style.
- Pencils: A range of pencils from H (hard) to B (soft) and charcoal pencils for shading will be essential.
- Erasers: Invest in both kneaded and vinyl erasers for precision erasing.
- Drawing Mannequin or Reference: Having a drawing mannequin or access to human figure references (photographs or life drawing sessions) is extremely helpful.
- Ruler and Protractor: These tools can help maintain accurate proportions and angles in your drawings, but it’s probably best to do without them!
- Or just a digital equivalent of all the above.
Now, let’s move on to the step-by-step process of drawing the human figure.
Step 1: Basic Proportions
Begin with simple shapes to establish the basic proportions of the human figure. Start with an oval for the head and an elongated oval for the torso. Draw a vertical line down the center to represent the body’s midline.
Step 2: Building the Skeleton
Sketch a stick figure skeleton over your basic shapes. This will serve as the framework for your figure. Pay attention to the proportions of body parts like arms, legs, and the spine. The head typically fits around 7-8 times into the height of the total body.
Step 3: Adding Muscle and Flesh
Now, flesh out your figure by adding basic muscle shapes. Study anatomy references to understand how muscles and bones interact. Keep your lines loose, and don’t worry about details just yet.
Step 4: Defining Features
Refine the details of the face, hands, and feet. Pay close attention to the placement and size of facial features. And the positioning of fingers and toes.
Step 5: Shading and Rendering
Start shading your figure to give it depth and volume. Use a range of pencils to achieve different tones. Pay attention to the direction of light and shadow to make the figure look three-dimensional.
Step 6: Fine Details and Texture
Add finer details like wrinkles, hair, and clothing. Pay attention to the texture of the skin and fabrics. Use various line weights and techniques to create texture and depth.
Step 7: Refinement and Corrections
Take a step back and evaluate your drawing after each step. Make any necessary corrections to proportions, anatomy, or shading before you continue. Use your erasers to clean up any smudges or unwanted lines.
Conclusion
Drawing the human figure is a skill that requires practice and patience. Breaking down the process into these manageable steps. Continually studying anatomy and real-life references, you can improve your figure-drawing abilities over time. Remember that practice is the key to success! So, keep your sketchbook handy, and don’t be afraid to explore different styles and techniques. Whether you aspire to create lifelike portraits or stylized character art, mastering the art of figure drawing will undoubtedly enhance your artistic repertoire.
Need some tutorials? Below is an excellent course I took that can help you significantly!
Books Related to Human Figure Drawing
I’m focussing more on studying the human figure now and absorbing what ever resource is on my list. The book from Jack Faragasso “Mastering Drawing the human figure. From Life, Memory & Imagination” is a highly recommended one by other artists!
If you want a physical copy of the book Andrew Loomis “Figure Drawing for All It’s Worth” you can buy it here. You can find the PDF at the top of this blog.


